In the view Slide Master of PowerPoint, you can insert both text boxes as text placeholders. Both seem the same at first sight, but when you return to the normal view of your presentation differences become cleary noticeable. This post highlights the differences between text boxes and text placeholders or, in a wider context, between shapes and placeholders.
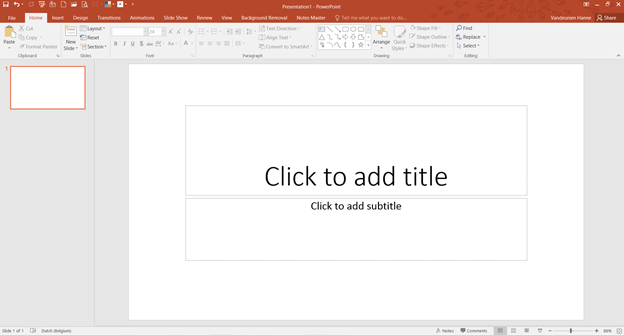
Even if you’ve never heard of Placeholders before, you are probably more familiar with them then you might think. Take the first slide of a new presentation for example. It contains two frames in which you can enter text according to the instructions, but which you also can delete, resize, colour,…. These flexible frames look like text boxes but are in fact Text Placeholders.
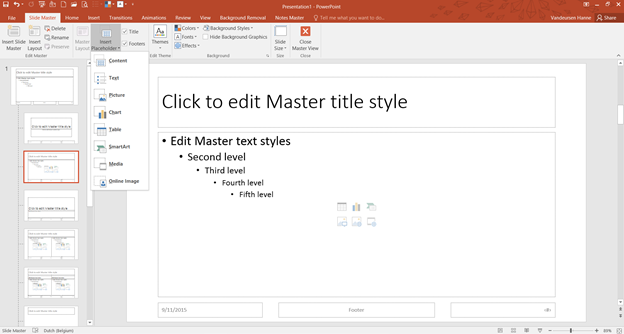
If you go to the Slide Master and scroll through the different layouts you’ll notice that there are -in addition to frames for text- also frames for pictures, charts, tables, SmartArt, Media, Online pictures or content in general. These are all placeholders.
If you make your own template, you can insert these placeholders by the feature Insert Placeholder on the tab Slide Master.
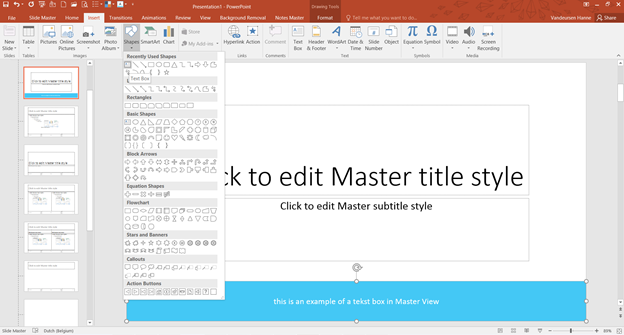
Besides placeholders, you can also insert shapes (including text boxes) in the Slide Master view. But unlike the first, shapes cannot be adjusted in the normal view. If you insert for example a blue text box in the Master view and return to the view Normal, you will notice that this is a fixed element on the slide which is impossible to select, and thus impossible to adjust.
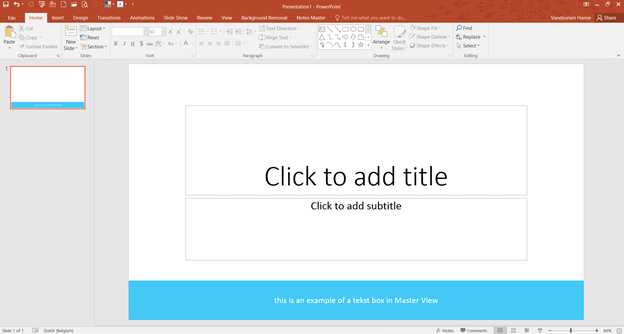
There is also a second difference between placeholders and shapes: a placeholder can be put on the back or foreground on the slide whereas a shape will always remain in the background when you insert them into the slide master.
However, both shapes and placeholders are useful when it comes down to making a PowerPoint template. How to use these two elements correctly is for a future post.
Based on PowerPoint 2016.
