As promised, a sequel to the article of last week about the slide aspect ratio 4:3 and 16:9.
Most likely you will convert 4:3 format into 16:9 rather than vice versa, as widescreen has become the new standard (the 4:3 screen format of iPad is an exception) and the same goes for slides. Anyway, this blog post covers the conversion in both directions. In the article I assume that the presentation you would like to resize, is created in a template and pictures and text are inserted in placeholders.
Is this a story with a happy ending? Well, it depends on a few factors…

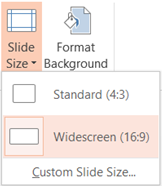
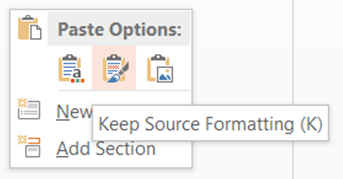
There are different methods of resizing your presentation. One option is to resize your presentation via the tab Design, Slide Size. Another way is to copy all the slides from the original presentation and paste them into a new presentation which has the desired aspect ratio (Choose past option Keep Source Formatting)
Which path you take, does not really matter. Just make sure you work with a copy of the original presentation, because the original might come in handy in the future!

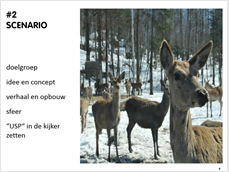
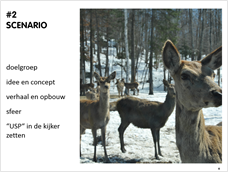
After converting a widescreen into a 4:3 format, the photo looks distorted.
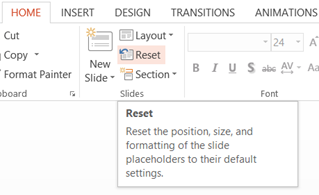
At this point all the graphics or logos in your slides will be out of proportion (Scale Height and Scale Width will be dissimilar). They will look either stretched or distorted. To fix this, select all the slides (to do so: select the first slide, hold the shift key and select the last slide) and click on Reset on the tab Home, this command resets the position, size and formatting of the slide placeholders to their default settings. So thanks to the feature Reset pictures get their normal proportions back. But you are not out of the woods yet, because there is also a drawback to this feature.
Using the pre-set layouts of the Master View is one thing concerning formatting slides, but not the only one. Often, there has been also a lot of “direct formatting” in Normal view. A few examples to clarify what I mean: pictures you’ve positioned via the crop tool in the placeholder, font colour you’ve changed, words you’ve made bold, new layouts you’ve created because the layout you are looking for was not foreseen in the template,… The Reset feature takes no account of these kind of adjustments in Normal View. They just get lost after clicking Reset.

After converting a widescreen into a 4:3 format and clicking on Reset, the photo looks okay, must be repositioned in the placeholder again.
If you know for sure you haven’t done a lot of this “direct formatting”, the story ends well for you (checking the font size and indentation is the only thing left to do, because they might have changed after conversion).
But it can be quite frustrating if you’ve made a lot of these little changes in the Normal view and time consuming to restore everything to the way it was before… As an alternative you can leave the Reset feature for what it is and Crop > Fill each picture via the contextual tab Picture tools which appear after selecting a picture.

Converting slides often takes a long time. If you know a more efficient way or a magical button to convert slides without losing any direct formatting AND with respect to the aspect ratio of the pictures, please share and make my day!


