How do you repeat the title of each chapter in the header or footer of your document? If dividing the document into sections, unlink them and edit the sections manually one by one is your answer, this little article is worth reading.
If you’ve formatted your document with styles, the solution is not to use sections but the field Stylereference . This is easy and is furthermore an automatic way to create headers or footers which differ from each other in this area.
Suppose the title of each chapter is formatted with the style Heading 1, this is how you do it:
- Double click in the header or the footer and position your cursor where you want to reference the text
- The contextual tab Header and Footer Tools appears, click on the dropdown menu Quick parts > Field…
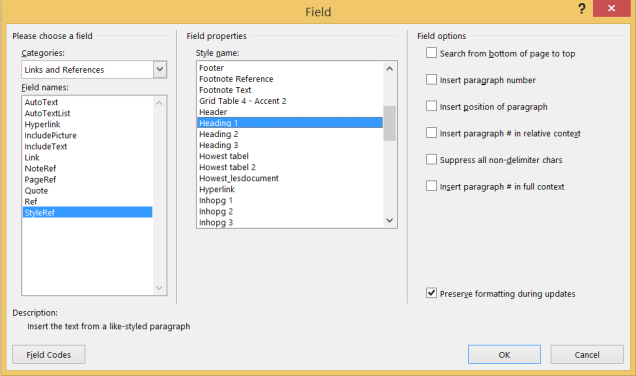
- In the dialog box Field, choose Links and References from the list Categories, select StyleRef from the list Field names list and Heading 1 from the list Style name.
- Make sure that the Preserve formatting during updates box is checked and click OK
- The text of heading 1 appears in the header or footer and varies depending on the current chapter.
I always start a new chapter on a new page, in this way a chapter never ends and begins on the same page. You can set this by formatting the paragraph of the style > Line and Page Breaks > Page break before.
You can use Styleref for each style you’ve used. You can, for example, mention the title of your document in the footer on the left hand page and the title of the chapter in the footer on the right hand page or separate them by an underscore or another symbol in the same footer.
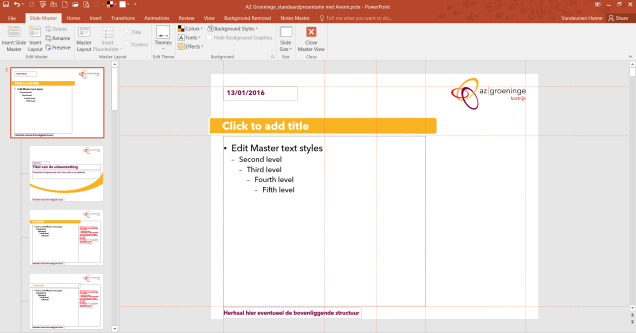
Note that a lot of built-in cover pages of MS Word (you can find them under the tab Insert > dropdown menu Cover Page) contain content controls that are inserted in text boxes. If you like to reference such content control in the header/footer of you doc, you’ll first have to remove it from it’s text box, otherwise it won’t work.
There you have it, another advantage of formatting a text document with styles!
Based on Word 2016


