You don’t necessarily need Adobe Photoshop to surprise your colleagues with a thoughtful Christmas card. With your MS Office skills, a little creativity and some basic knowledge of graphic design you can achieve quite a good result.
This post guides you through the process of creating a Christmas card that breathes the look and feel of your organisation, starting from a blank slide in PowerPoint…
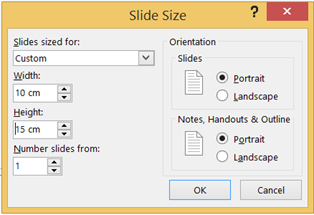
Step 1: resize the slide to the format of a greeting card.
If you are planning to send it the old fashion way (which I personally love) do take the format of your envelop into account. A standard greeting card 100 x 150 mm fits a default envelop 114 x 162.
Go to the tab Design > dropdown menu Slide Size > Custom Slide Size… choose the proper width and height and decide on the orientation of your card: portrait or landscape.
Step 2: create your card
The logo of your organisation will help you to get started. It is your biggest inspiration to design your card. What are the colours, fonts and shapes of the logo? If you integrate the style elements and the general style of the logo in the rest of your card, the whole will look a lot more coherent. This is another example when a customized MS Office theme comes in handy.
Insert the logo(s) (in Master View) and position them as described in the corporate style guide of your organisation. Give each logo plenty of room to breathe! Go to the tab Design and choose the theme of your organisation. Work with a layout which has no placeholders.

I’ll get to work with the logo of Howest Industrial Design Center.
Now think of Christmas and everything around it: stars, snow, christmas trees and sweet wishes,… but don’t get too excited about decorating your card: Less is more! So keep your design simple.
The following video is an example of how a christmas card in PowerPoint can be made. I’ve found the picture of the cardboard paper on the background on www.freestock.ca
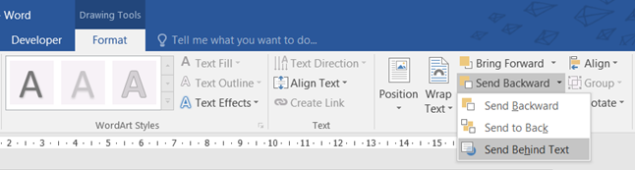
The video illustrates how to align, rotate, flip horizontal, group, make text transparant… these are a few graphic possibilities in MS Office, but there is much more! You can make your own (background) pattern for example, as the following video illustrates.
Why not insert a picture in a shape that is related to christmas, a star for example. In the post How to get your favourite image in a shape I’ve explained how to do this.

The feature Ink Annotations (only in PowerPoint 2016) makes it possible to add freehand pen and hightlighter strokes to your document. You can find it on the tab Review, Start Inking.
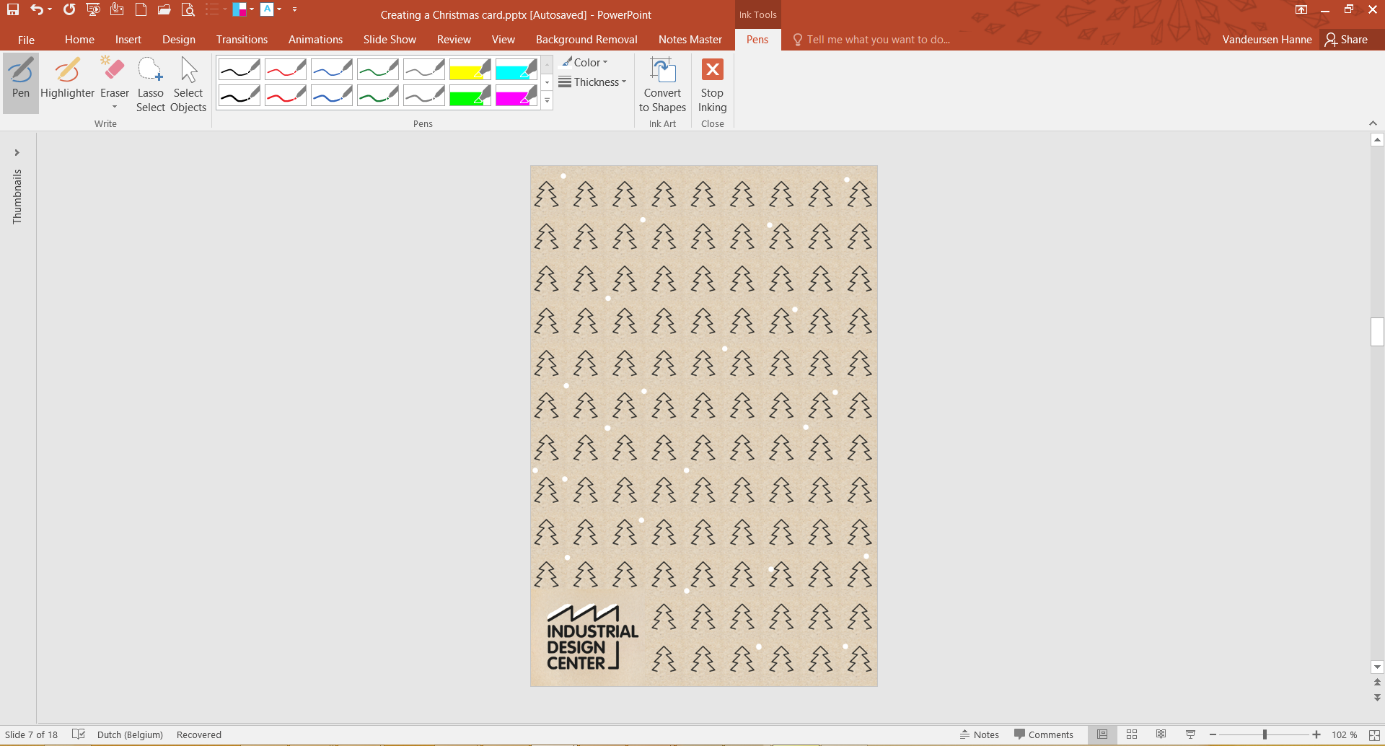
I’ve used it to create snowflakes and some snow on the roof of Industrial Design Center.
Step 3: save the slide as a jpeg.
Once you’re done, save you slide as a jpeg. Unfortunately for some reason the quality of the image is not what it should be. You can fix this by following the instructions in this article by Motifolio.
Step 4: Print and/or share your Christmas card !
I hope you can use some of the techniques I’ve illustrated to create one yourself. If you have an idea and don’t know if it’s possible in MS Office, let me know and we can figure it out.
And don’t hestitate to share your Christmas cards!

Merry Xmas!


