In the beautiful brochures – which are made by the communication department of Howest in the Adobe suite – text is sometimes surrounded by coloured frames. It is one of the ingredients for a fresh Howest look.

Luckily, this types of style elements are not exclusive to the Adobe suite. You can perfectly integrate them in MS Word to spice up long, dull documents. Though the method of working in Word may differ from the one in Adobe and is not always so obvious.
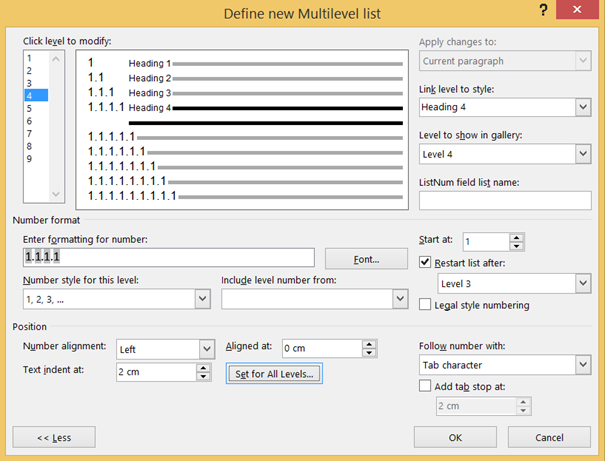
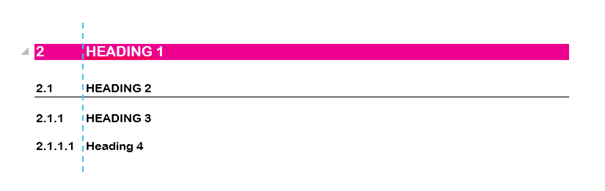
Take the coloured frames for example, you may think – just as I thought – to integrate them via the feature Text Box on the tab Insert. This is okay for normal text, but I noticed that text boxes do not work for numbering like in multilevel styles and footnotes. If you put such “special” text in a text box, the numbering of the list is no longer correct.
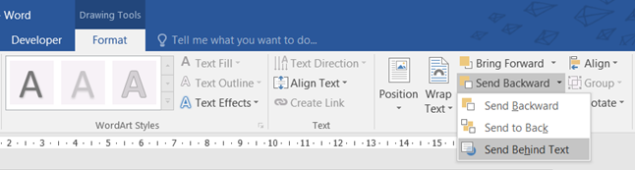
A solution to integrate this element without losing the numbering? Insert a
Rectangle (tab Insert > shapes) instead of a Text Box, give it a lively colour and put it behind the text via the feature Send Backward > Send Behind Text on the contextual tab Drawing Tools.
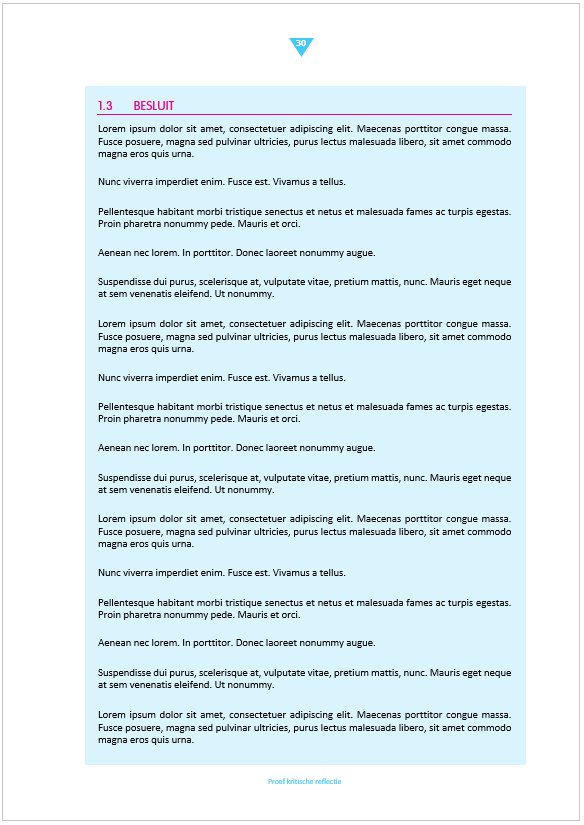
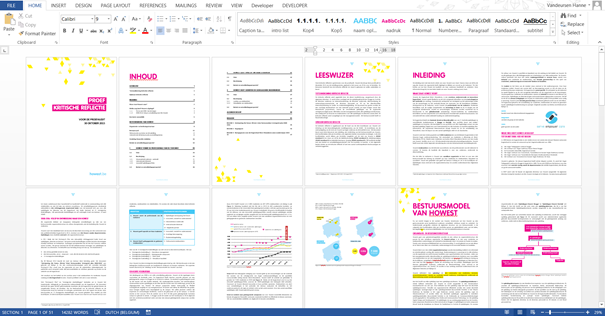
The document above is made in Word. Besides little style elements like the coloured frames, the page number in little triangles, the text balloons, … the document catch the eye by using a lot of colour and contrast!
By integrating these little style elements you are one step closer to a fun and readable document!