These days it’s all about christmas lights and glühwein, but for many it’s also the end of the fiscal year. And sadly, that means that we are faced with many figures, calculations and formulas. Besides the glühwein this complex data might make your head spin, especially when the info is poorly presented. Time to clear your mind and your doc!
In this article I’ll explain how to display data in an Excel worksheet and which formatting can be set automatically.
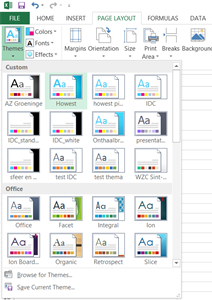
The first step to a clear and professional looking worksheet starts, like always, with the theme. Change the theme of the default template into the customized one (that you’ve made) of your organisation (to do so: go to tab Page Layout > dropdown menu Themes > your theme). The corporate fonts and colours are now integrated in the file and also, content like shapes, tables, charts,… that you have inserted or will insert will be based on that specific theme.
Further formatting depends on the kind of information you would like to format:
How to format text into a worksheet
Don’t start each line of text at the beginning of a new row. It is frustrating to do and confusing for co-workers who want to edit the text but don’t know which cell they have to adjust.

each line of text starts at column A: A4, A5 and A6. The cells next to A4, A5 and A6 are empty.
Don’t resize a cell either to insert all text. That one big cell will be a pain to format the rest of your content. Instead, make it easy on yourself and enter (a) paragraph(s) of text in a text box. Also, in this way you have more functionality at your disposal (text and paragraph editing tools)
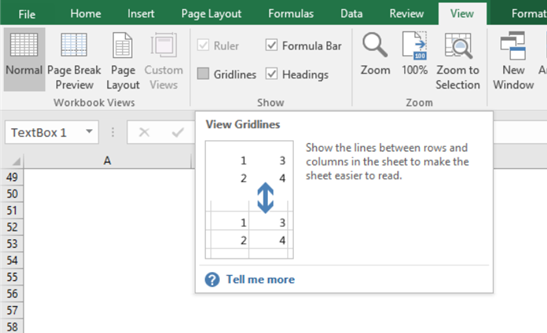
If you don’t like the look of the text box of which the outlines do not cover the cells perfectly, you can uncheck the Gridlines on the tab View. But it’s better to do this after you’ve done with formatting, cause they are quite handy when it comes to Ranges of cells and Tables.
How to format typical Excel content like a cell, a range of cells, tables and charts
Cells
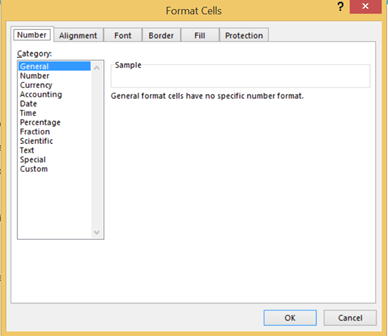
The most popular commands are displayed on the tab Home. For more options, right click on the cell and choose ‘Format Cells…’, you can format Number, Alignment, Font, Border, Fill and lock or hide cells.
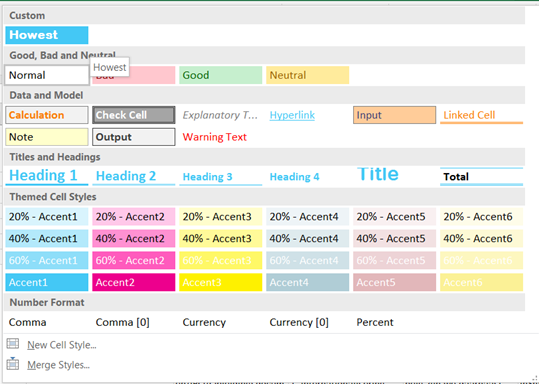
But it would take a long time to format each cell manually. For different sorts of content you can use cell styles or set a New Cell Style… (tab Home). If you use these cell styles consistently you’ll obtain a well structured worksheet that enables you to identify the following information at first glance: Good, Bad and Neutral / Data and Model / Titles and Headings /… there are also Themed Cell Styles and each style can be modified.
Tables
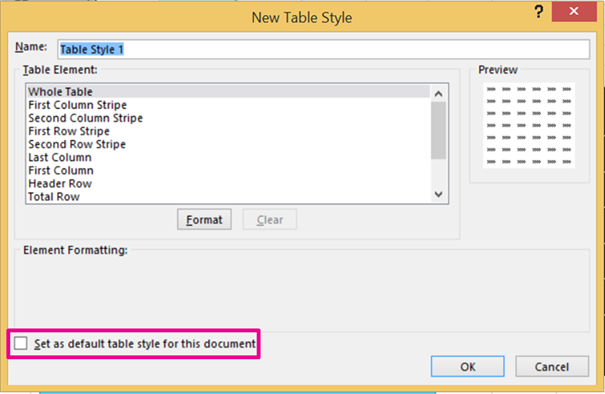
You can quickly change the look of a table via Table Styles on the contextual tab Table Tools. These are based on the theme of the document, but if these don’t fulfil your needs, you can also create a New Table Style. Click on the dropdown menu Table Styles > New Table Style… Unlike Styles in Word, it is not possible to copy the direct formatting of a table straight away to create a new table style. You can set the New Table Style as default table style for the document.
A Range (of cells)
As you can format a table quickly via Table Styles, it is clever to convert your range of cells into a table, give it the right formatting, i.e. table style and convert it back again to a Range. The formatting of the table will be maintained. This workaround might save you quite some time!
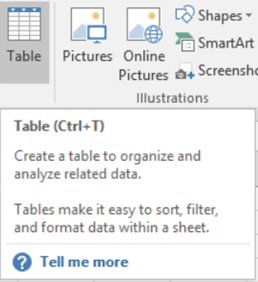
To convert a range into a table: select the cells, click on the tab Home > Format as Table or on the tab Insert > Table. To convert it back again to a range, click on Convert to Range on the contextual tab Table Tools.
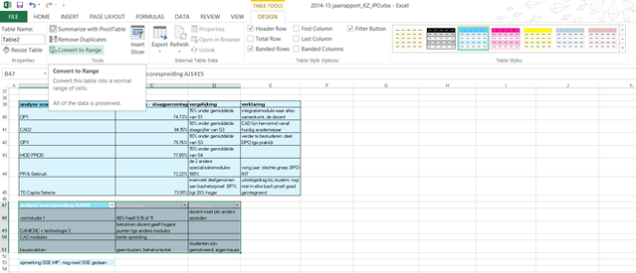
Tip: Unlike the cells of a table, you can merge cells of a range (tab Home > dropdown menu Merge & Center) If you want to merge cells of a range, first give it the right formatting (by converting it into a table, choose a table style and convert it back again to a range, see above) If you convert a range with merged cells into a table you’re asking for trouble!
| Header 1 | Header 2 | Header 3 |
| Cell | Cell | Cell |
|
Merged cell |
Cell | |
| Cell | Cell | Cell |
Range with a merged cell
| Header 1 | Header 2 | Header 3 |
| Cell | Cell | Cell |
|
Merged cells |
Cell | |
| Cell | Cell | Cell |
After converting the range with the merged cell into a table: the merged cell is unmerged.
| Header 1 | Header 2 | Header 3 |
| Cell | Cell | Cell |
|
Merged cells |
Cell | |
| Cell | Cell | Cell |
After converting the table into a range again: the formatting of the table is preserved, but the merged cell stays unmerged.
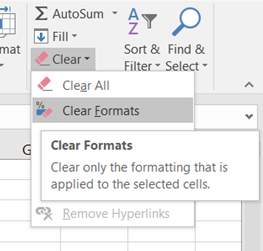
Tip: If you want to clear the formatting of a Table or a Range, click on the dropdown menu Clear on the tab Home and choose Clear Formats.
Charts
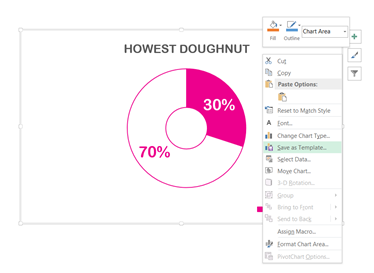
The same for tables goes for charts: they are based on the theme of the document, but you can also adjust a chart and save it as a template.
Before you unpack your christmas gifts don’t forget to pack the workbook as an Excel template: go to the tab File > Save As > Save as type: Excel Template (.xtlx). Now you have a template which you can reuse year after year, you just have to open it as a normal Excel Workbook (.xlsx) and replace the content.
If you want to print the workbook, take a look at the Page Break Preview on the tab View to see how your file will be printed.
Happy holidays!

